
Linux on Lenovo-EMC px6-300d
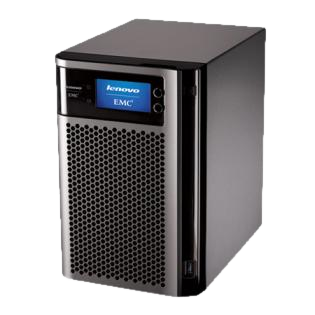 Today I received my new storage solution / NAS / file server for my living room: a Lenovo EMC px6-300d.
After booting it the first time, it comes up with a web interface. The interface looks nice but is sprinkled with non-free third-party apps like backup solutions, cloud storage and CCTV management.
The tech spec shows, that the main board is a Intel Atom on and the running OS is Linux-Based. Therefore I opened the case (just 3 normal screws) and removed the main board (4 normal screws).
The system is shipped with 2GB of RAM. I changed these with 2x 4GB DDR3 modules.
 The main board has a proprietary VGA output somewhere on the board. I’ve look around for an adapter but can’t find one.
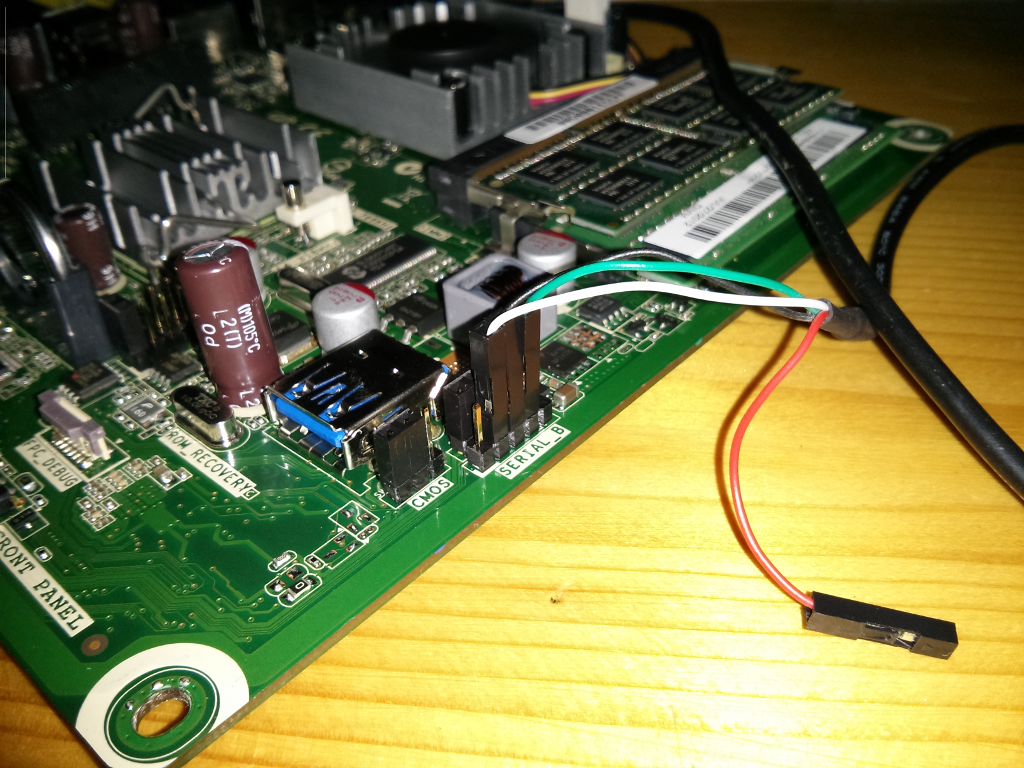
But, while searching for the main boards model number (which I still can’t find) I found four pins labeled
The main board has a proprietary VGA output somewhere on the board. I’ve look around for an adapter but can’t find one.
But, while searching for the main boards model number (which I still can’t find) I found four pins labeled SERIAL_B.
Using my multimeter I found a pin providing stable 5V (power), a pin providing round about 3V (TX), a pin which is not connected (RX) and a pin connected to ground (GND).
I’ve connected a TTL-to-USB-adapter to the pins and opened a terminal.
By trying I found the baud rate to be 115200-N-1 and I can see a linux login prompt.
 As I can’t find the password, I tried to reboot the storage and I can see the BIOS screen and the GRUB screen flashing by.
Rebooting again while pressing the DEL-Key (through the serial connection) works well and I can change BIOS settings.
The BIOS shows, that the board has a build-in USB hard disk (flash disk) and allows to change the boot order.
As I can’t find the password, I tried to reboot the storage and I can see the BIOS screen and the GRUB screen flashing by.
Rebooting again while pressing the DEL-Key (through the serial connection) works well and I can change BIOS settings.
The BIOS shows, that the board has a build-in USB hard disk (flash disk) and allows to change the boot order.
Connecting a USB-Stick with ArchLinux installation to the board and choosing to boot from the USB-Stick was the next thing to try. As syslinux comes with a serial configuration of 38400-N-1 I have changed the BIOS settings for the serial console to the same settings. I had to change the redirection of the console to Boot Loader to avoid double redirection. Now, rebooting and pressing F11 during boot allows to choose between the build in disk and the USB-Stick.
 To keep the serial console alive during installation, the boot record must be edited by pressing the TAB-Key.
The following string must be appended:
To keep the serial console alive during installation, the boot record must be edited by pressing the TAB-Key.
The following string must be appended:
console=ttyS0,38400n8
Now the arch installer is booting.
Before installing a new Linux to the internal disk (1 GB size), a backup of this disk should be done:
dd if=/dev/sda | gzip > /backup.gz
scp /backup.gz user@1.2.3.4:/target/backup.gz
Now we can install arch linux using the standard installation manual with the following differences:
During the installation of GRUB, the following config located in /etc/default/grub has to be extended:
GRUB_CMDLINE_LINUX_DEFAULT="console=ttyS0,38400n8"
GRUB_TERMINAL_INPUT="console serial"
GRUB_TERMINAL_OUTPUT="console serial"
GRUB_SERIAL_COMMAND="serial --unit=0 --speed=38400 --word=8 --parity=no --stop=1"
This will configure GRUB to enable serial output (also with 38400n8) for the boot menu and the started kernel.
 Here we go! A full customizable linux running on the px6. The next step is to control the LCD panel…
References:
- http://www.adafruit.com/products/954
- https://wiki.archlinux.org/index.php/Installation_Guide
- https://wiki.archlinux.org/index.php/working_with_the_serial_console
- http://shop.lenovo.com/de/de/servers/network-storage/lenovoemc/px6-300d/
- http://www.lenovo.com/shop/emea/content/pdf/Storage/Product%20Release%20Information%20%28PRI%29/PRI_Lenovo_EMC_px6-300d_SC_EN.pdf